(This is a sponsored post written by me on behalf of Cricut. All opinions are 100% mine.)
New to Cricut? Infusible ink can seem intimidating but it’s actually so easy to use. Don’t let being a beginner stop you from trying this fun and unique product.
I’m going to show you how to make an easy Infusible Ink t-shirt with your Cricut machine, step by step.
What is Infusible Ink?
Infusible Ink is a type of heat transfer material that, when heated to the right temperature (around 400 degrees), transfers directly into the fibres of a shirt. Or other material, such as coasters, mugs and other hard substrates, too. The key difference from heat transfer vinyl is that there is no “feel” of the item left on the shirt or printed item. It doesn’t have a texture or raised finish, because you’re not sticking a material “onto” the item, you’re infusing it directly INSIDE it.
Magic, right?
The cooler part is that because the ink is infused into the fibres of the shirt, it will last forever. Heat transfer vinyl often outlasts the life of a shirt as well (when applied properly), but it can crack, stretch or start to peel up at the edges a bit (especially if the wearer puts it in a hot temp dryer!). But Infusible Ink? Literally forever.
The key is the type of material. For fabrics, they need to be polyester as the ink only fuses to polyester fibre. 100% polyester will give you the richest, most vibrant colours. But, you can also use as low as 50% polyester. Your project will just have a more faded “vintage” look to it. Personally, I like that for solid black/bolder prints.
For solid items like coasters or mugs, they need to be coated with a special material that allows the ink to infuse into it. These are known as “sublimation blanks.” Sublimation is the print industry term for this type of printing. And, this is something I do for customers and my own items, like the mugs in my shop, with my professional Epson sublimation printer.
What’s great about Infusible Ink is that you don’t need to buy an expensive sublimation printer like I have or special ink and paper to create awesome sublimated items. You can just use Infusible Ink with your existing Cricut machine. 🙂
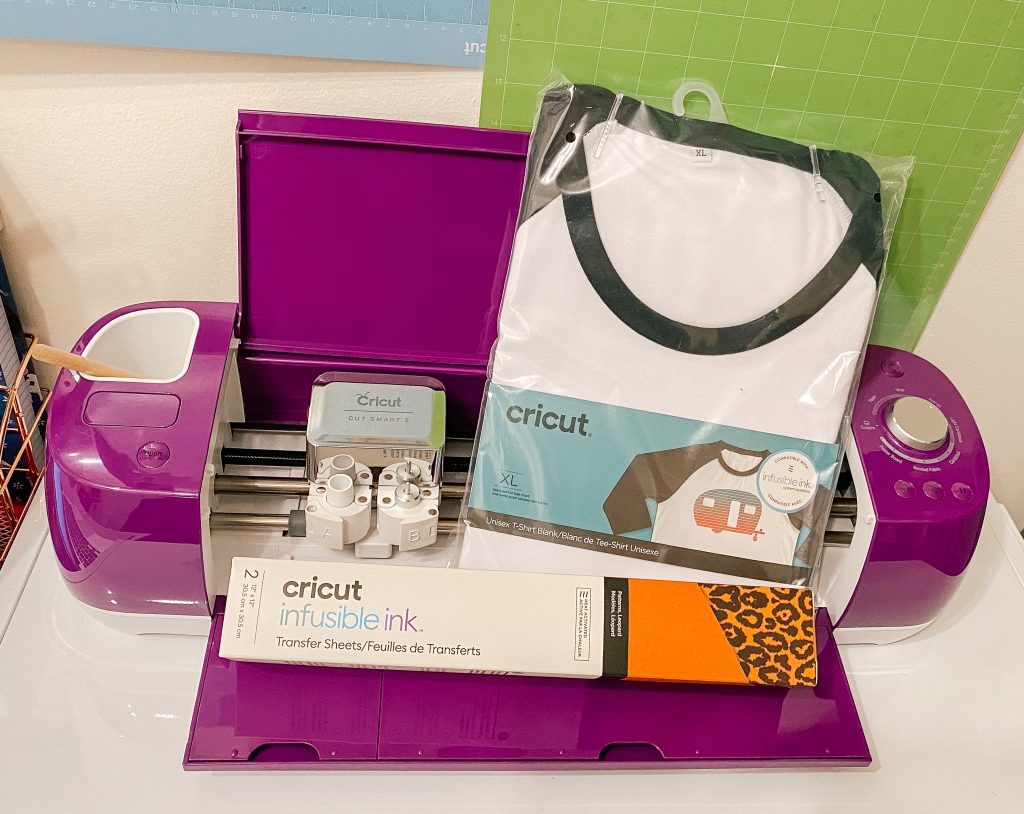
Supplies Needed
- Infusible Ink sheets and cover sheet (which is included in the box). For this project, I used the Leopard pattern sheets.
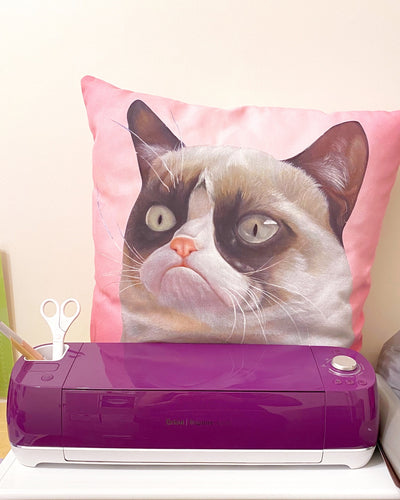
- Cricut cutting machine (I used my Explore Air 2 because the design was large, but you can also use the Joy, which is currently on sale for its lowest price ever!)
- weeding tool
- heat press or Cricut EasyPress
- a blank shirt with at least 50% polyester (ideally closer to 100% for ultimate vibrancy)
How to Make an Infusible Ink T-Shirt
Because I’m using a pattern here, it works best with larger graphics or block-type text. And I wanted to make this project super easy! So, a simple and classic text-based t-shirt design.
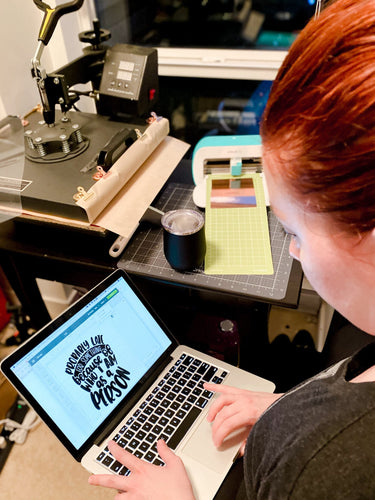
I created this in Design Space. You can click here to use this exact file if you want, or make your own for this project.
And, I created my first ever YouTube video showing exactly how to make this project. Ahh! I hope you find it useful:
Watch the Video, or Read Below:
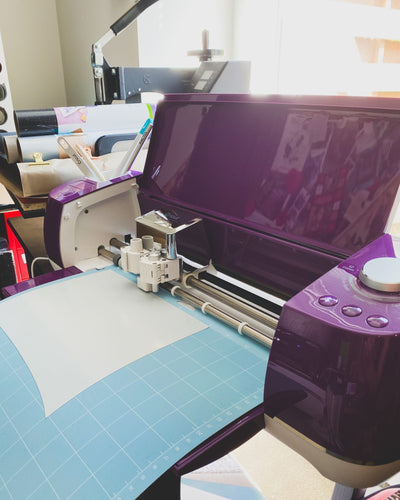
- Load your Infusible Ink sheet onto the Cricut mat. Make sure to put the liner side down. So, your pattern or colour should be face UP.
- In Design Space, open up the project above (or make your own). Remember to “weld” it together to cut all as one piece. Send it to your Cricut to cut. Make sure to mirror your design before cutting.
- After you slowly and carefully peel it off your mat (I give you my best tip for this in the video!), weed it just like a vinyl project. For total beginners out there, that just means “pick out the pieces that aren’t part of the design until you get only your design remaining.”
- Preheat your heat press to 400 degrees. You can also use the Cricut EasyPress for this. I would NOT recommend a regular home iron due to the steam it produces. Infusible Ink is easy to use, but it requires dry heat and even pressure to apply correctly. You can find the Cricut recommended settings for EasyPress here.
- I do 400 degrees, and normally sublimation needs about 60 seconds, but I do 100 on my heat press since it’s kinda on the fritz. Can’t wait to get my new one I have on order soon. 🙂 Each heat press can vary a bit for settings so don’t get discouraged if it doesn’t turn out just right the first time. You may need to experiment with your press’ settings.
- Position the Infusible Ink design on your shirt, sticky side down. Cover it with the parchment sheet (included in package), and press for the recommended time for your heat press.
- After it’s done, give it a sec to cool off, then you want to rip off the transfer sheet all in one quick motion, like a band-aid. I peel up a corner, then pull UP and away – quickly removing it. This is so that nothing shifts around and smudges the ink.
- After the sheet is off, it’s done and ready to wear!

Hope you enjoyed this tutorial and that it makes Infusible Ink seem less scary. I promise, it’s easy and fun!
I’m going to be sharing more tutorials and print business tips on my new YouTube channel from now on, so please subscribe for more of this content over there. As always, thank you for your support!
Anything you’ve been wanting to know about Cricut, but afraid to ask? Comment below and I’d love to help you out.